
One of the first questions to answer when planning a trip is “will you be taking your bike or renting one?”. If you are only going on one or two weeks per year where you would need a bike, then renting may be for you. In my case, I plan to travel four to eight times per year and want to have a bike available in each location. Rental fees add up fast when you travel frequently so I decided to invest in a bike bag and take my own bike along for the trip.
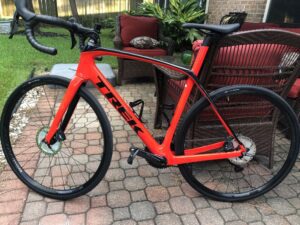
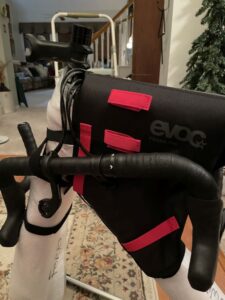
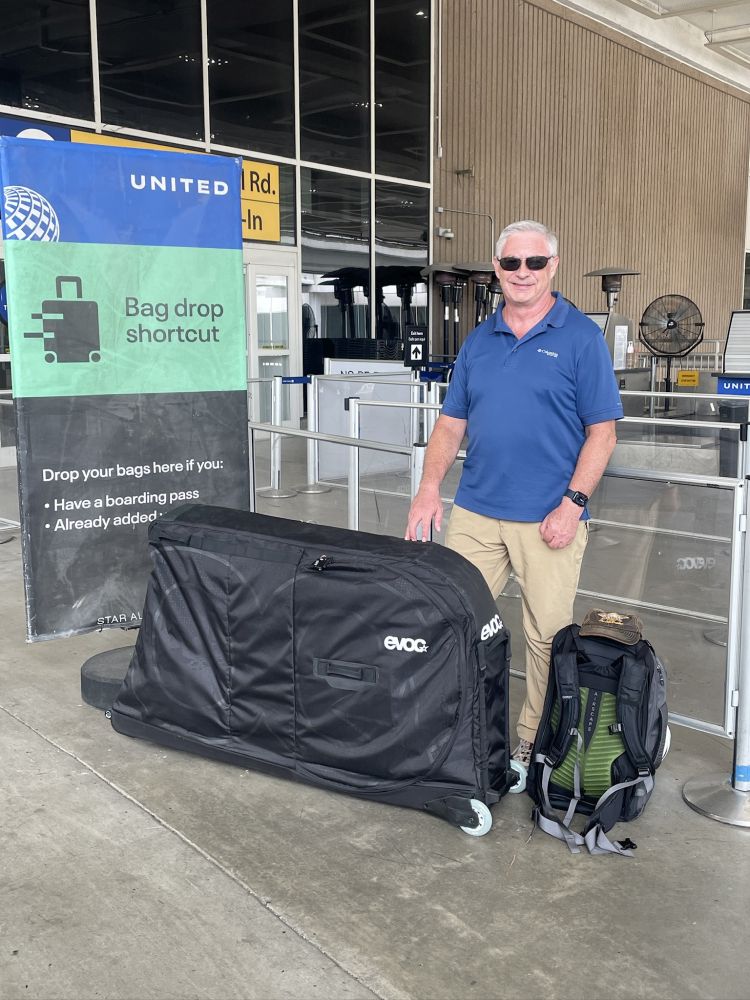
Selecting between the hard-sided case versus the soft-sided case is the next decision to make. After weighing the pros and cons of the hard-sided case and the soft-sided case, I decided to purchase the EVOC Travel Bag Pro, a soft-sided bag.
| Attribute | Hard-Sided Case | Soft-Sided Bag |
|---|---|---|
| Exterior Dimensions | Larger | Smaller |
| Weight | Heavier | Lighter |
| Bike Protection | Best | Good |
| Maneuverability | Good | Good |
| Will fit in a regular taxi / Uber | Not usually | Normally fits fine |
| Airline Excess Bag Fee Carbon Road Bike | Yes (can’t stay < 50lbs) | No (<50lbs is easy) |
| Case storage when not in use | Takes a lot of space | Folds down, put under bed |
The major long-haul airlines charge anywhere from $100 to $200 each way for baggage they consider to be “excess”. I really wanted to avoid those fees as they would add up fast. The hard-sided case plus a 20lbs carbon road bike won’t stay under the 50lbs limit, if the airline you fly has a limit of 70lbs for the excess baggage threshold, then the hard-sided case would be able to avoid the excess fees.
The main disadvantage often cited against soft-sided bags is that they don’t protect your valuable bike against damage in transit. I have made 8 trips so far with my EVOC Travel Bag Pro and have not experienced any damage, neither has the bag shown any “rough handling” signs like my suitcases always do after a few flights. I suspect the handlers are treating these larger sports equipment bags with a higher level of care – at least that’s the way it appears to me. All the same, it’s a sensible idea to insure your bike against loss, damage so you’re not out a bunch of $$$ if the airline messes up your ride.
Packing the BIke in the Bag…
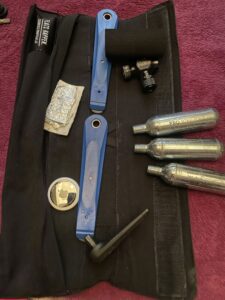
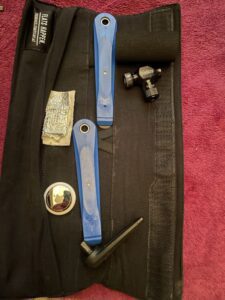
Your will need a few basic tools for this process of dismantling the bike sufficiently to make it fit in the bag. The parts you must remove are in bold and the other parts that are recommended to remove are non-bold:
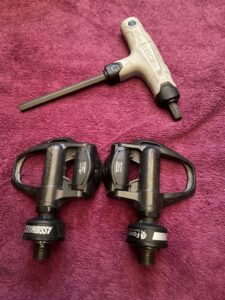
- Pedals (hex-Allen key)
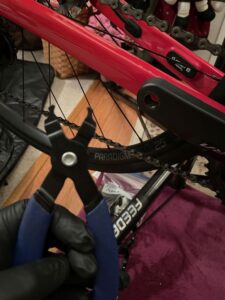
- Chain (quicklink removal tool)
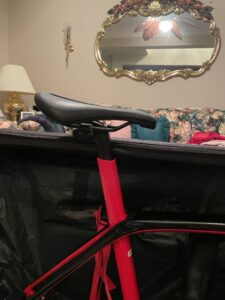
- Seat post with Saddle (hex-Allen key)
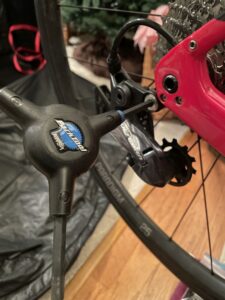
- Rear derailleur (hex-Allen key)
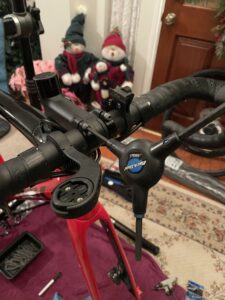
- Handlebars (hex-Allen key)
- Bottle Cages (hex-Allen key)
- Wheels (hex-Allen key)
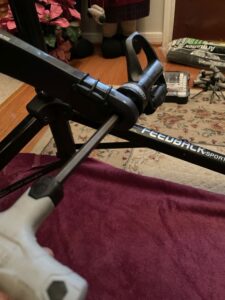
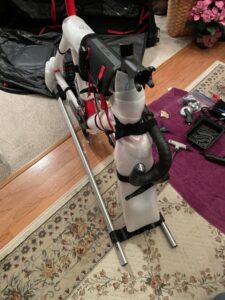
The EVOC bag has a lightweight stand that you can take out of the bag and mount the bike to it, which really helps with the dismantling process.
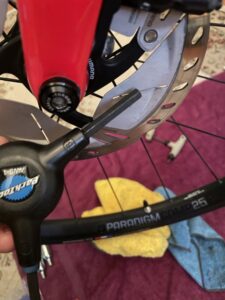
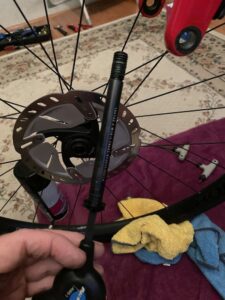
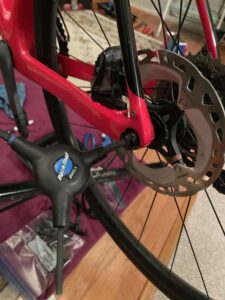
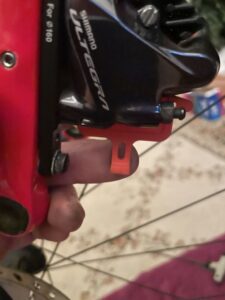
Step 1, remove both wheels and mount the bike to the stand using the thru axles. Insert the disc pad separators in the front and rear brakes.
Step 2, remove the chain put it in a plastic container along with the quick link.
Step 3, remove the rear derailleur from the hanger. Wrap the derailleur in protective padding.
Step 4, remove the pedals, loosen in the opposite direction to forward pedaling. Pack them in a plastic bag and store in the zipped interior compartment of the bag. Note: I haven’t had issues with packing the disabled rechargeable battery in the checked baggage, but airlines state not to put rechargeable batteries in the hold and prefer you to keep them in your carry-on luggage.
Step 5, remove the seat post with saddle and lay to one side. You will fasten this to the floor of the bag after the bike is in.
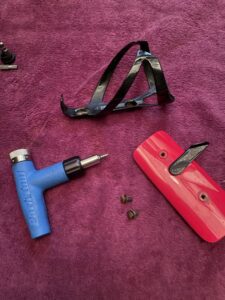
Step 6, remove the fragile bottle cages, storing the small bolts in a sealable bag.
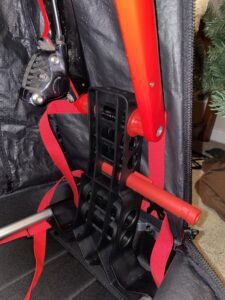
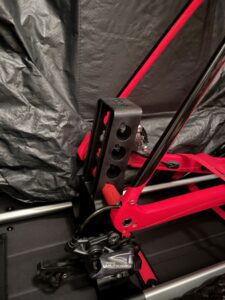
Step 7, remote the 4 bolts holding the handlebars to the stem, maneuver the bars out of the way and put the bracket and 4 bolts back on the stem and lightly tighten them in place.
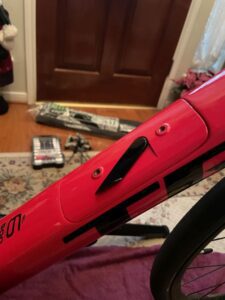
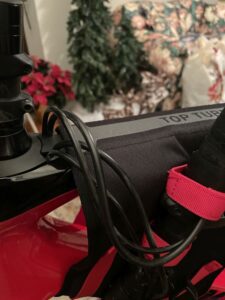
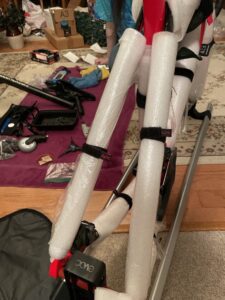
Step 8, wrap the frame with protective padding and secure with Velcro straps. Hardware stores sell rolls of Velcro so you can cut them to the lengths you need. Wrap every part of the frame so if somethings gets loose in the bag (e.g. bottle cage or seat post!) it won’t mark your nice paint job!
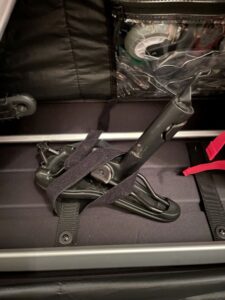
Step 9, using the handlebar fastening system that EVOC provides, fasten the handlebars to the side of the bike frame, strapping them snug so that they cannot move around. Ensure that they are no higher than the stem and rest of the frame.
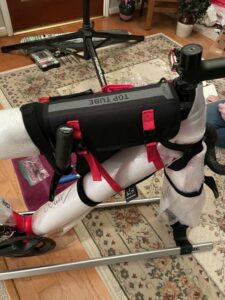
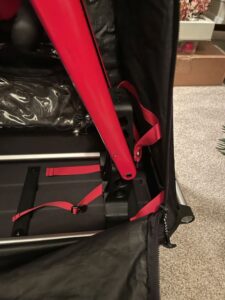
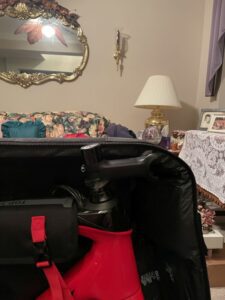
Step 10, put the stand and bike into the bag and secure it in place with the interior straps sewn into the bag.
Step 11, put your few tools in the zipped interior pocket along with any grease and chain lubricant you want to take along.
Step 12, let some air out of your tires to per airline guidelines and put your wheels in the exterior wheel pockets with the disc facing the outside of the bag.
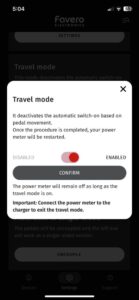
Step 13, SAFETY CHECK ensure that you don’t have any compressed air cartridges on the bike or in the bag – they are prohibited from air travel. If you have rechargeable batteries on the bike, remove them and put them in your carry on. If you have power pedals, put them in travel mode so the battery doesn’t wear down during travel. Remember to take your pedal charger too as most need this to bring them out of travel mode.